Articles


How to Trim Hair Extensions at Home
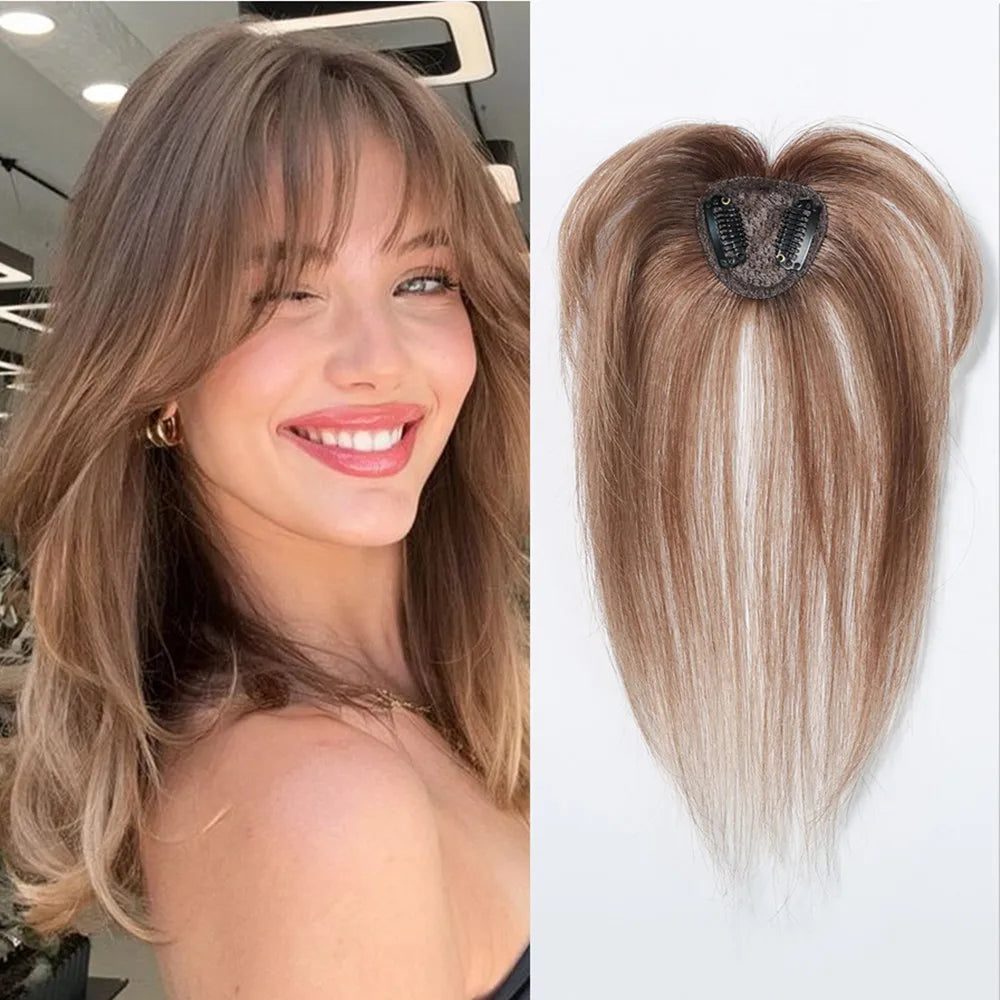
Trimming your hair extensions at home can save you money and help them blend naturally with your hair. Here’s a quick guide to get started: Why Trim Extensions? Keep them looking natural and polished while maintaining their quality. Tools You’ll Need: Professional-grade scissors, fine-tooth comb, detangling brush, sectioning clips, and mirrors for visibility. Preparation Steps: Clean and detangle extensions, ensure they’re dry, and secure them in place. Trimming Techniques: Point-Cut Method: For soft, natural edges. Layer-Cut Method: Adds depth and texture. Straight-Cut Method: Creates clean, even lines. Post-Trim Tips: Style with heat protectant, blend extensions with natural hair, and maintain them with gentle care. Quick Tip: Always trim conservatively - you can cut more later, but you can’t undo an overcut. For detailed steps, tools, and techniques, keep reading to achieve a salon-quality finish at home. How To Cut & Trim Hair Extensions Yourself | Instant Beauty ♡ Required Tools for Trimming Having the right tools is essential for achieving a professional finish when trimming hair extensions. Hair Cutting Scissors Invest in professional-grade scissors for precise and clean cuts. Scissors made from Japanese steel are known for their durability and accuracy. Look for these features: Material: VG-10 or Matsui Aichei Steel Design: Ergonomic handles for comfort Blades: Sharp and precise edges Size: 14–17 cm, ideal for detailed work Hair Tools and Accessories A successful trim also relies on the right accessories to ensure a smooth and controlled process: Fine-tooth comb: Helps create clean sections and maintain consistent tension. Detangling brush: Removes knots and tangles before trimming. Rat-tail comb: Perfect for making precise partings. Hair grippers: Keep extensions securely in place. Don’t forget to clean your scissors after every use and have them sharpened every 6 to 12 months for optimal performance. Clips and Mirror Setup A well-organised workspace with proper visibility is crucial for an even trim. Here's how to set up your tools and mirrors: Item Purpose Recommended Setup Sectioning clips Divide hair into manageable sections Use 6–8 clips for better control Main mirror Provides a primary front-facing view Position at eye level Hand mirror Enables back and side views Choose a large mirror for angles Adjustable stand Holds the hand mirror in place Allows hands-free operation Arrange mirrors to create a three-way view, ensuring you can see all angles clearly. Use natural daylight whenever possible or opt for bright, even lighting from multiple sources to avoid shadows. For premium hair cutting tools and accessories designed to help you achieve salon-quality results at home, check out Silkara Hair at https://silkarahair.com.au. Pre-Trimming Preparation Getting your extensions ready before trimming is key to achieving a polished, professional result. Cleaning and Detangling Start with clean extensions. A clean base makes it easier to spot damage and ensures a more even trim. Detangling First: Use a wide-tooth comb or an extension-friendly brush, starting at the ends and working your way up. This method reduces stress on the hair. For stubborn knots: Apply a light mist of detangling spray. Work through small sections patiently. Use slow, gentle strokes to avoid breakage. Washing Extensions: Once detangled, give your extensions a good wash to clear away product build-up and refresh the hair. Follow these steps for best results: Step Action Key Tip Pre-wash Brush thoroughly Prevents tangling during washing Washing Use lukewarm water Hot water may weaken the extensions Conditioning Focus on mid-lengths/ends Avoid applying near attachment areas Final Rinse Finish with cool water Helps smooth and seal the cuticles Clean and detangled extensions create the perfect foundation for a precise trim. Securing Extensions Once washed, ensure your extensions are fully dry and laid flat before trimming. For Clip-in Extensions: Part your natural hair as you usually would. Braid shorter sections of your hair tightly beneath your ears. Pin the braid flat to your head. Attach the extensions in their usual position to ensure they’ll be trimmed exactly as they’ll be worn. For Halo and Other Styles: Place the extensions at their intended height, aligning them properly. Use extra clips to secure any loose sections for added stability. Taking the time to prepare ensures a smoother trimming process and better results overall. sbb-itb-08feb2f Trimming Techniques Once your extensions are prepped and secured, it’s time to choose a trimming technique that delivers a polished, professional finish. Point-Cut Method The point-cut method is perfect for softening blunt edges while maintaining length. It’s a go-to technique for reducing bulk and creating a more natural, feathered look. Here’s how to do it: Hold the extensions securely and position your scissors vertically. Make small, precise cuts upward into the ends. Work in small sections to ensure an even, consistent result. Layer-Cut Method Layering is a great way to add depth and texture to your extensions, making them blend seamlessly with your natural hair. It’s especially useful for thick extensions that need less bulk or for creating a voluminous, textured style. Here are some layering tips based on hair types: Hair Type Technique Outcome Thick Extensions Use thinning shears Reduces bulk while keeping fullness intact Fine Extensions Long, subtle layers Adds volume while preserving density Wavy/Curly Extensions Subtle graduated layers Enhances the natural wave pattern Work in small sections to ensure smooth, even layers. If you’re looking for a more defined edge, you can also try the straight-cut method. Straight-Cut Method For clean, sharp lines, the straight-cut method is the way to go. However, it’s important to avoid overly harsh cuts, which can make the extensions look unnatural. To achieve a flawless straight cut: Divide the extensions into two sections at the nape of your neck. Bring each section forward over your shoulders. Comb through to ensure the hair falls naturally. Hold the hair at the desired length between your fingers. Trim carefully using a controlled, vertical motion to create a neat, clean line. Each of these techniques offers a unique finish, so choose the one that best suits your desired look and the type of extensions you’re working with. Post-Trim Styling Post-trim styling is all about making your extensions look like a natural part of your hair. Styling Options Using heat styling tools can help achieve a seamless look, but don’t forget to apply a heat protectant to keep both your natural hair and extensions safe. Style Technique Best For Sleek Straight Apply heat protectant, then use a straightener Fine to medium hair Voluminous Curls Curl extensions and natural hair together with a wand Thicker extensions Bohemian Waves Use heatless curlers overnight Long-lasting styling Half-up Styles Blend front sections with natural hair Everyday casual looks "Curling your hair extensions with your natural hair will help make those heavy ends undetectable when wearing hair extensions. Curling is the number one suggestion to make your extensions discreet." - Zala Hair Blog, 2024 For the best results: Apply a quality heat protectant before styling with hot tools. Curl extensions together with your natural hair for a uniform look. Pin back the bottom layer of your natural hair before clipping in the extensions. Adjust the placement of the wefts to suit your head shape and preferred style. Extension Care Once you’ve styled your extensions, keeping them in good condition is key. Proper care will not only maintain their look but also extend their lifespan. Use a shampoo free of sulfates and parabens to keep the extensions shiny and healthy. Brush daily with a soft-bristle brush, starting from the ends and working upwards. Sleep with your extensions in a loose braid or ponytail on a silk pillowcase to avoid tangling and maintain their shape. For long-term care: Store clip-in extensions flat when not in use. Use a wide-tooth comb to gently detangle wet extensions. Minimise heat exposure as it can cause damage to the extensions. Summary Get that salon-perfect look at home by following the right preparation and techniques. Here’s a quick refresher on the key methods and tips for trimming extensions effectively: Cutting Method Best For Technique Tips Point-Cut Method Softening blunt edges Cut upward into the hair for a natural finish Layer-Cut Method Adding depth and blending Divide into sections for smooth transitions Straight-Cut Method Clean, even lines Use vertical cuts for precise results Start with clean, dry, and detangled extensions, and always use professional-grade scissors for the best results. Each cutting method achieves a specific outcome: point-cutting gives softer edges, layering creates dimension, and straight-cutting ensures sharp, even lines. To keep extensions looking their best, store them flat and avoid excessive heat. Use gentle products for regular maintenance to maintain their quality and natural movement. When trimming, go slow - it's better to cut conservatively since you can always trim more later. If you're unsure about any of these techniques, don’t hesitate to consult a professional. With the right care and attention, your extensions will stay fresh, natural, and flawless for longer. FAQs How do I make my trimmed hair extensions blend naturally with my own hair? To make your trimmed hair extensions blend effortlessly with your natural hair, focus on trimming the extensions to match the ends of your hair, not the roots. This is especially key if your haircut features layers or a blunt edge. After clipping in the extensions, gently tease the roots of your natural hair using a brush. This adds volume and helps the extensions mix seamlessly. For a flawless look, style your natural hair and extensions together. Adding curls or soft waves can help disguise any visible lines where the extensions meet your hair. A little extra effort in blending and styling can make all the difference, leaving you with a polished, natural-looking finish. How can I maintain the quality of my hair extensions after trimming them at home? To keep your hair extensions looking great after a trim, try these easy tips: Wash with care: Stick to a sulphate-free shampoo and a moisturising conditioner to keep dryness and damage at bay. Washing just once or twice a week helps maintain their shine and reduces the risk of tangling. Brush gently: Opt for a wide-tooth comb or a brush made specifically for extensions. Start at the ends and work your way up to avoid unnecessary breakage. Protect from heat: Minimise heat styling as much as possible. When using tools like straighteners or curling irons, always apply a heat protectant first. Store properly: Keep your extensions in a cool, dry spot. For added protection, use a case or bag to help them hold their shape and quality. With these tips, you can keep your extensions looking fresh and salon-worthy for longer. What’s the best way to trim different types of hair extensions at home? The right trimming technique for hair extensions largely depends on the type of extensions you have and the style you're after. For a smooth, natural look, point cutting works wonders. This method involves snipping upwards into the ends of the hair, softening any harsh edges and reducing bulk without taking off too much length. It’s a great way to achieve a soft, blended finish. Looking to add layers or shape, especially around the face? Slicing is the way to go. This technique uses diagonal cuts to create fluid, layered effects. For those with thicker extensions, slithering can help. By sliding the scissors down the hair, this method reduces volume while keeping the ends tapered and natural-looking. Before you start trimming, ensure your extensions are properly installed and completely dry. This will give you a clear view of how they sit and blend with your natural hair. Use sharp scissors, take your time, and trim in small increments to avoid taking off more than intended. Related posts Heatless Waves vs. Heat Curls: Pros and Cons Synthetic vs Human Hair Extensions: Which Should You Choose? Hair Extension Care: 8 Essential Maintenance Tips Halo vs Clip-In Extensions: Pros and Cons Guide
Learn more
7 Best Hair Extension Types for Fine Hair: A Complete Guide
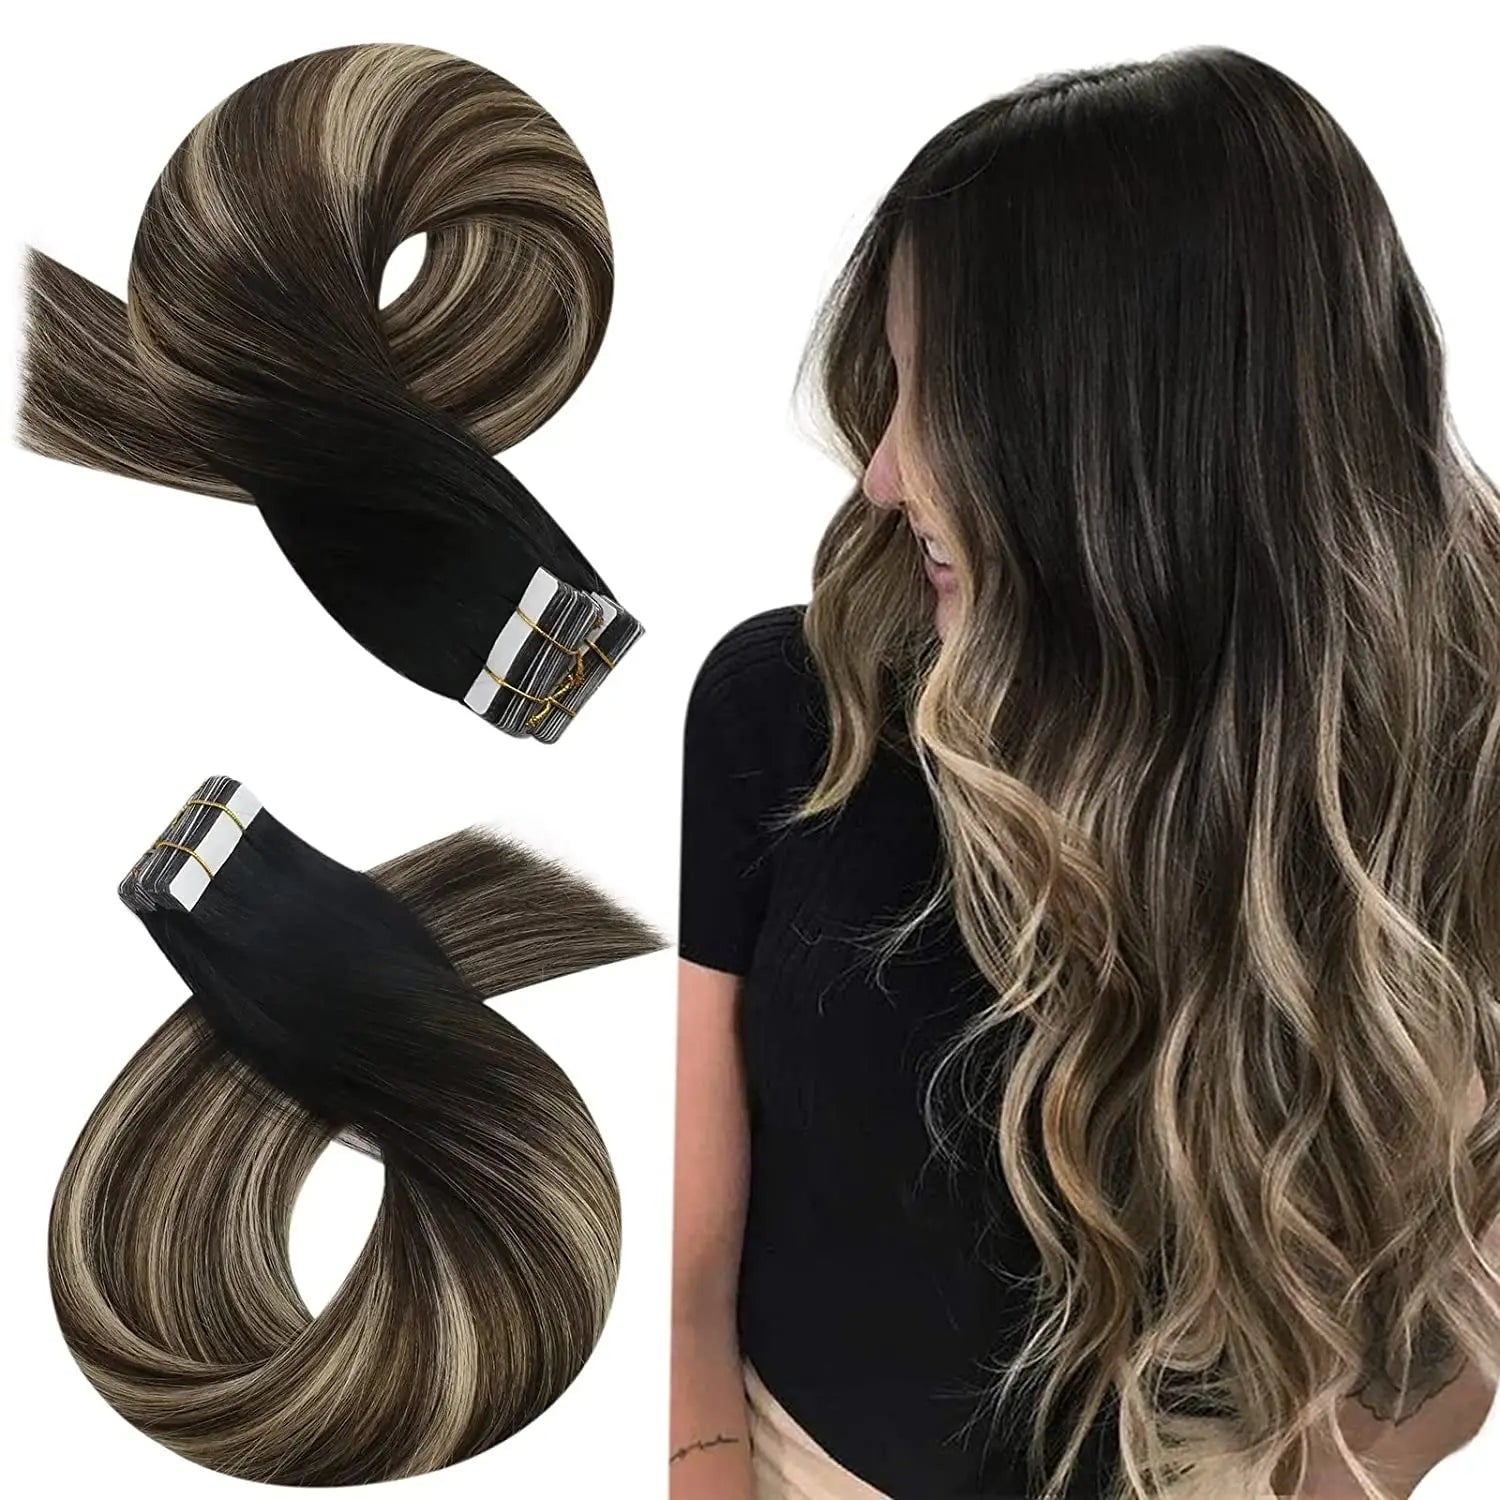
Looking for the perfect hair extensions for fine hair? Here's what you need to know upfront: Fine hair requires lightweight extensions to avoid damage while adding volume and length. The best options are tape-ins, halo extensions, clip-ins, micro rings, mini micro rings, nano rings, and K-tip extensions. These methods are gentle, offer natural blending, and reduce strain on delicate strands. Key Takeaways: Best Choices for Fine Hair: Lightweight options like tape-ins, halo extensions, and micro rings. Avoid Damage: Choose extensions under 200g and ensure professional application. Care Tips: Use sulfate-free shampoos, brush gently, and schedule regular maintenance. Quick Comparison: Extension Type Attachment Method Durability Weight Distribution Cost (AUD) Best For Tape-In Adhesive strips 6–8 weeks Even $900–$2,000 Natural, discreet look Halo Invisible wire 6–24 months No strain $300–$800 Damage-free, easy to use Clip-In Small clips Temporary Customisable $300–$900 Quick, non-damaging option Micro Ring Silicone-lined rings Up to 5 years (reused) Even $1,000–$2,500 Long-lasting, chemical-free Mini Micro Ring Tiny rings Up to 5 years (reused) Even $1,200–$2,800 Fragile or front hairlines Nano Ring Ultra-small beads Up to 5 years (reused) Even $1,500–$3,000 Invisible, natural movement K-Tip Keratin bonds 4–6 months Even $1,800–$3,500 Long-lasting, secure fit Pro Tip: Always consult a professional for installation and maintenance to prevent breakage and ensure a seamless look. Ready to dive deeper? Keep reading for detailed insights into each extension type and how to care for them effectively. TOP 5 EXTENSIONS FOR THIN HAIR Fine Hair and Extension Basics When it comes to fine hair, understanding its unique characteristics is essential for choosing the right extensions. Fine hair is defined by its smaller strand diameter, making it more delicate and prone to damage compared to thicker hair types. What Makes Fine Hair Different? Strands are thinner than medium or thick hair. It tends to get oily faster. More likely to tangle and form knots. Can appear flat or lack volume without proper styling. If you have fine hair, the weight of the extensions you choose is a big deal. Heavy extensions can strain your natural strands, leading to potential damage or even affecting your scalp. Lightweight extensions are the way to go - they reduce tension and are gentler on your hair. "The best hair extensions for fine hair are either micro rings or miniature micro rings. This comes from their shared reputation for seamlessly blending with hair and their minimal bulkiness – making them a practical choice. Plus, they're virtually damage-free, meaning that they shouldn't make fine hair finer over time, unlike other types of extensions." The Hair Alchemist Choosing Extensions for Fine Hair: What to Keep in Mind Factor Why It Matters Best Practice Weight Heavy extensions can strain fine hair. Go for lightweight options. Attachment Method Uneven weight distribution can harm strands. Pick methods that spread weight evenly. Texture Match Mismatched texture looks unnatural. Match extensions to your natural hair. Installation Area Small areas of attachment can cause tension. Use wider attachment areas for better balance. Hair expert Jay Small from Arey highlights the importance of professional care, stating, "With professional installation, maintenance, and removal, hair extensions shouldn't cause hair damage". Tips to Protect Your Scalp and Hair Stick to gentle, sulfate-free shampoos to keep your scalp healthy. Massage your scalp regularly to encourage blood flow. Take breaks between extension applications to let your hair rest. Opt for attachment methods that minimise tension on your scalp. Mass-produced extensions are often a poor fit for fine hair because of their standard weight and attachment methods. Instead, look for customised solutions tailored to your hair's specific needs. For the best results, extensions should be slightly longer than your natural hair. This adds volume without looking unnatural. These principles serve as a guide to help you choose extensions that enhance your fine hair while keeping it healthy. With these basics covered, you're ready to explore the seven best types of extensions for fine hair. 7 Extension Types for Fine Hair If you have fine hair and are considering extensions, it’s essential to choose options that are lightweight and gentle. Here’s a closer look at seven types of extensions that work well for fine hair, along with their standout features. 1. Tape-In Extensions Tape-in extensions are applied using adhesive strips that attach to your natural hair. They’re a go-to choice for fine hair because they evenly distribute weight, reducing strain on delicate strands. The cost for a full head, including installation, typically ranges from $600 to $1,500. Why Choose Them? Lasts 6–8 weeks before needing repositioning Offers a natural, discreet appearance Next up, let’s look at Halo Extensions, a damage-free option that’s easy to use. 2. Halo Extensions Halo extensions rest on your head, secured by a nearly invisible wire. These extensions are perfect for fine hair since they don’t attach directly to your strands, minimising potential damage. They’re available in a variety of textures. Highlights: Can last 6–24 months with proper care Adjustable for a snug and comfortable fit Easy to put on and remove For a versatile, temporary option, consider clip-in extensions. 3. Clip-In Extensions Clip-in extensions are a quick and non-damaging way to add volume and length. They attach with small clips, making them ideal for fine hair. Prices for clip-ins range from $200 to $600. They’re also one of the safest choices for delicate strands. Looking for a more permanent solution? Micro ring extensions might be the answer. 4. Micro Ring Extensions Micro ring extensions use small, silicone-lined metal rings to secure the extensions without adhesives or heat. Their lightweight design makes them a great option for fine hair. Perks: Can be reused for up to 5 years with proper care Adjustable placement for a customised fit Chemical-free application Even weight distribution, reducing strain 5. Mini Micro Ring Extensions A smaller, more delicate version of micro ring extensions, mini micro rings are designed specifically for fine or fragile hair. Their tiny attachments blend seamlessly and are gentle on the scalp. Why They’re Great: Extremely lightweight, ensuring a natural look Reduces stress on hair follicles Ideal for the front hairline, where hair is often finer 6. Nano Ring Extensions Nano ring extensions use ultra-small beads to secure the extensions, making them nearly invisible. They’re particularly suitable for fine or thinning hair, as they allow for natural movement without adhesives or heat. Key Features: No heat or adhesives required Gentle on the scalp and hair Maintains a natural flow and movement Easy to adjust during maintenance 7. K-Tip Extensions K-tip extensions are bonded to your hair using keratin, a protein that’s gentle and safe for fine hair. They last 4–6 months with proper care and require professional application, which typically takes 3–6 hours. These extensions distribute weight evenly, protecting your natural hair. What to Expect: Long-lasting results with proper care Secure keratin bonds for a natural appearance Professional application ensures even placement No matter which type of extension you choose, proper care is essential to protect your fine hair and extend the life of your extensions. Use sulfate-free shampoos, minimise heat styling, and schedule regular maintenance appointments (around $50–$100) to keep your extensions looking their best. sbb-itb-08feb2f Extension Care Guide Taking care of your extensions is key to keeping them looking great and protecting your natural hair. Follow these simple tips to extend the life of your extensions and maintain their quality. Washing and Care To keep your extensions in top shape, always use sulfate-free shampoos and moisturising conditioners. Here's how to wash them the right way: Pre-wash Preparation Before washing, gently detangle your extensions using a wide-tooth comb. Hold the roots securely to avoid putting stress on the attachment points. Washing Technique Apply shampoo gently to your scalp, allowing the suds to flow down the extensions. This helps prevent tangling and keeps the bonds intact. Conditioning Method Use conditioner on the mid-lengths to the ends of the extensions only. Avoid applying it near the attachment points to protect the bonds. How often should you wash? Permanent extensions: Twice a week is enough. Temporary extensions: Clean them after around 30 wears or whenever you notice product buildup. Once your extensions are clean, brushing them properly is just as important. Correct Brushing Methods Daily brushing helps maintain your extensions and your natural hair. Use an extension-safe brush with boar and flexible bristles, and follow these steps: Start brushing at the tips, working your way up while holding the roots to avoid pulling on the bonds. A lightweight detangling spray can help reduce friction. To minimise tension, hold your hair in a low ponytail while brushing. If your extensions are wet, blot them gently with a microfibre towel first, then detangle with a wide-tooth comb. Once your extensions are clean and tangle-free, storing them correctly is crucial to prevent unnecessary damage. Storage Tips Good storage habits can make a big difference in maintaining the quality of your extensions. Here’s what you need to do: Keep them in a cool, dry place away from direct sunlight. Make sure they are completely dry before storing to avoid mould or odours. Use dedicated storage containers to keep them safe. For clip-in extensions: Close all clips to prevent snagging. Brush them thoroughly to remove tangles. Roll them neatly and place them in a storage box. If you’re travelling, use a dedicated carrier to keep them secure. Styling for Natural Results Once you've mastered the care and maintenance of your extensions, the next step is perfecting styling techniques. Achieving a natural look with fine hair requires precision and thoughtful blending. Adding Layers Layering is essential for creating a seamless blend without compromising volume. Here are some layering tips recommended by professionals for fine hair: Use extensions of varying lengths (40 cm, 45 cm, and 50 cm) to create a gradual, natural transition. Place longer pieces at the bottom and shorter ones closer to the crown. Trim the bulk, not the length, to maintain a natural appearance. Pay extra attention to the frontal hairline, as fine hair in this area is often more fragile. "Connecting the shortest piece of [the client's] natural [hair] to the longest pieces of the extensions is important for adding movement so they don't lay too heavy, which screams, 'extensions.'" - Nicole Destefano For a polished, natural finish, stylists often use these cutting techniques: Technique Purpose Best For Point Cutting Softens blend lines Crown area Razor Cutting Adds natural texture Mid-lengths to ends Slicing Reduces bulk Face-framing layers "I dry-cut everything, and I cut the bonds down the middle for most heads of hair. I texturize it from the mid-lengths down, so the ends look natural and not bulky. I go pretty high up, especially around the face where a lot of women have breakage to avoid super-short hair in the front and all these extensions in the back." - Reece Walker Once you've achieved the perfect cut, it's time to focus on heat styling to protect both your natural hair and extensions. Heat Styling Rules Using heat tools responsibly is crucial to maintaining the health and longevity of your extensions. Follow these guidelines for safe heat styling: Temperature Guidelines: Set your tools between 150°C and 175°C (300°F-350°F). Use the lowest heat setting that effectively styles your hair. Allow extensions to cool completely before brushing. Step-by-Step Heat Styling Tips: Apply a heat protectant, paying special attention to the mid-lengths and ends. Section your hair carefully, ensuring heat tools don’t come into direct contact with the bonds. Keep your tools moving to avoid overheating any one spot. Use the cool shot on your hair dryer to lock in your style. "Your extensions are an investment, and proper care ensures they remain sleek, shiny, and healthy for the long haul." - Yummy Extensions Heat Styling Safety Tips: Avoid applying heat to damp extensions. Limit repeated passes of heat on the same section. Keep heat tools away from the bonds to prevent damage. Use brushes designed specifically for extensions. Alternate between heat styling and heat-free techniques to minimise wear. Conclusion Taking care of fine hair extensions requires a thoughtful approach to ensure they look natural and don't damage your hair. Selecting the right type of extensions is all about finding that balance between achieving a seamless appearance and avoiding unnecessary strain on your strands. Lightweight extensions - ideally under 200g - and professional installation are key to achieving this. "The best hair extensions for fine hair are either micro rings or miniature micro rings. This comes from their shared reputation for seamlessly blending with hair and their minimal bulkiness – making them a practical choice." - The Hair Alchemist When choosing extensions for fine hair, here are the main factors to keep in mind: Factor Why It Matters Recommendation Weight Reduces strain on natural hair Opt for sets under 200g Hair Quality Blends seamlessly with your hair Go for premium human hair Application Method Protects hair health Use gentle methods with distributed weight Maintenance Level Impacts how long they last Choose a routine that suits your lifestyle FAQs How can I properly care for hair extensions on fine hair to make them last longer? To keep your hair extensions in top shape and extend their lifespan, it's essential to handle them with care - especially if your hair is fine. Start by brushing gently at least twice a day using a soft-bristled or loop brush. This helps prevent tangles while minimising any risk of damage. When it’s time to wash, opt for a sulphate-free and paraben-free shampoo. Focus on cleansing the roots and the weft line, and avoid scrubbing too harshly. Rinse thoroughly and follow up with a lightweight conditioner, concentrating on the mid-lengths and ends for added nourishment. For styling, try to limit heat exposure. If you do use heat tools, always apply a heat protectant spray to shield your extensions from damage. Regular check-ins with your stylist are also a must - they’ll help keep the extensions in great condition and ensure they stay securely attached. At night, avoid sleeping with wet hair and consider switching to a silk or satin pillowcase. These materials reduce friction, helping to minimise tangles and keep your extensions smooth overnight. What’s the best way to ensure hair extensions look natural on fine hair? To create a natural look with hair extensions for fine hair, it’s essential to pick lightweight, high-quality extensions made from Remy human hair. This type of hair is aligned in one direction, ensuring a smooth texture that blends effortlessly with your own strands. For fine hair, consider extensions like tape-ins or micro rings, as they’re gentle and won’t add unnecessary weight. Choose a shade that matches your natural hair colour as closely as possible, and shorter extensions can help achieve a more seamless and natural blend. To keep your extensions looking their best, focus on regular care - gentle brushing and proper styling go a long way in maintaining that flawless, natural appearance. What factors should I consider when choosing between temporary and permanent hair extensions for fine hair? When deciding between temporary and permanent hair extensions for fine hair, it’s essential to think about the weight, how they’re applied, and how they fit into your lifestyle. Temporary options like clip-ins or halo extensions are lightweight and easy to use, making them less likely to harm fine hair. These are perfect if you enjoy switching up your look or only want to wear extensions occasionally. On the flip side, permanent extensions such as tape-ins or keratin bonds provide a more natural, long-lasting finish but can put stress on fine hair if they’re too heavy or not applied correctly. To keep your natural hair healthy, go for lightweight extensions that evenly spread the weight and reduce strain on your roots. Also, consider how often you want to change your look - this will help you decide whether temporary or permanent extensions are the right choice for you. Related posts How to Trim Hair Extensions at Home How to Wash Clip-In Hair Extensions: Step-by-Step Care Guide Hair Extension Care: 8 Essential Maintenance Tips Common Hair Extension Problems and Solutions
Learn more