If your clip-in fringe looks odd at first, that’s normal. In most cases, the issue is not the fringe itself. It usually comes down to placement, length, texture match, density, and styling.
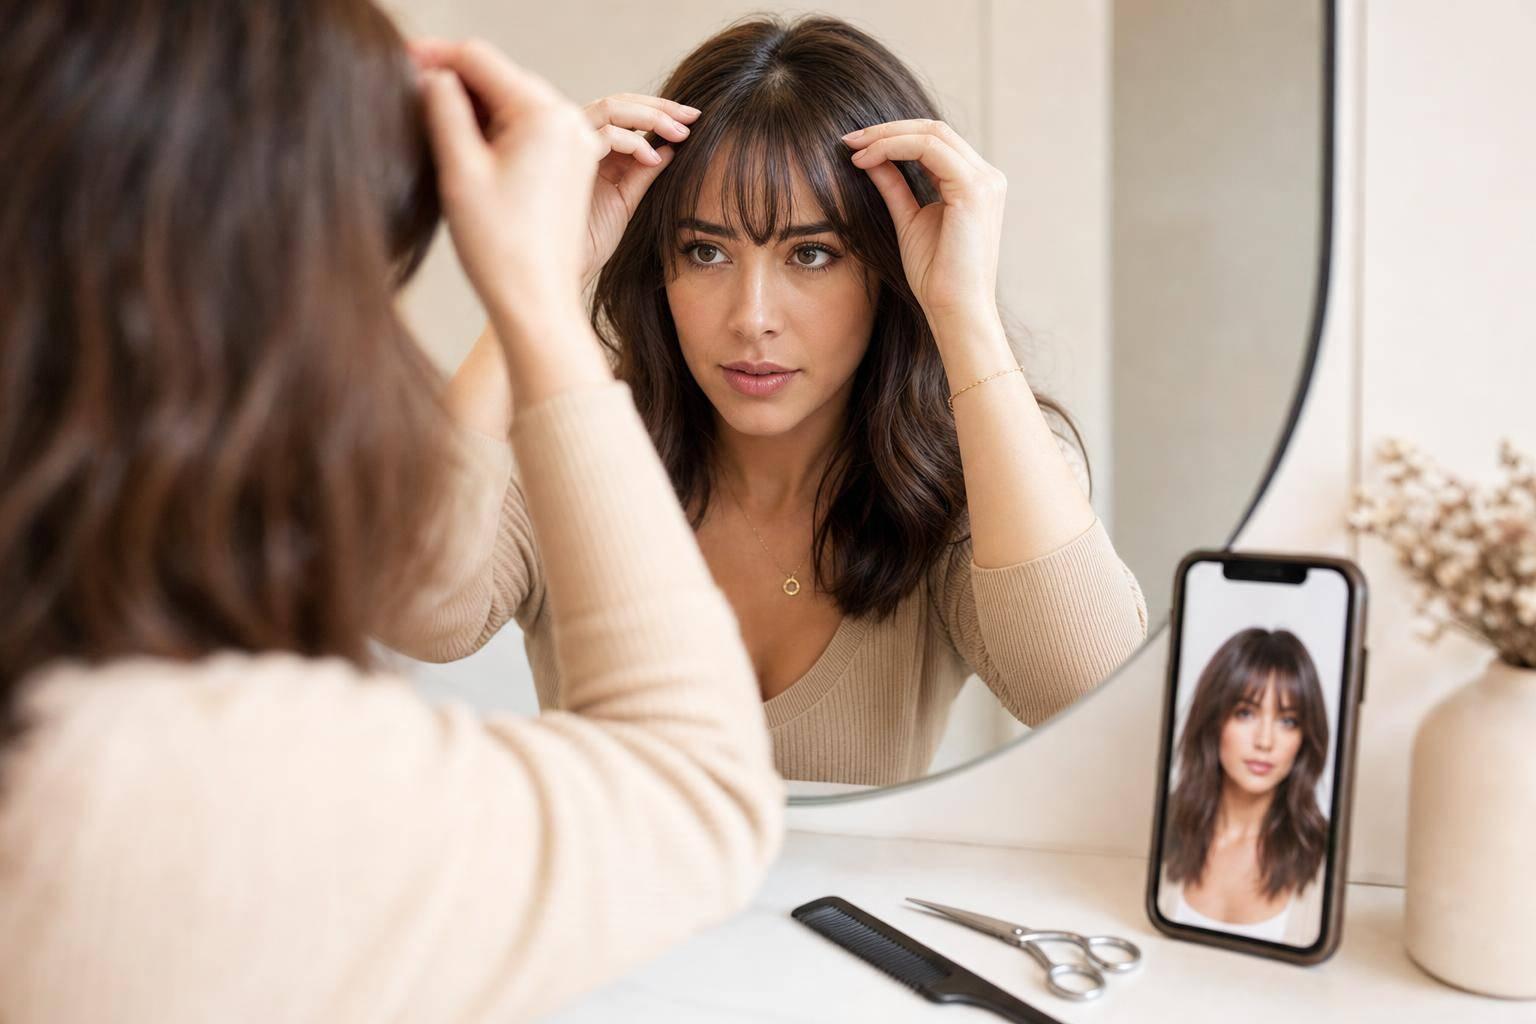
Here’s the short answer: model photos show a fringe after cutting, heat styling, and blending. Yours may need the same work before it sits the way you want. Even a shift of 1–2 cm can change how short, thick, or natural it looks.
What I’d check first:
- Placement: too close to the hairline can look heavy; too far back can look thin
- Face shape: this affects how the fringe frames your features
- Hair density: fine hair may show the base; thick hair can make the fringe look too light
- Root direction: cowlicks and growth patterns can push it apart or make it puff up
- Texture match: straight fringe + wavy hair often looks off unless styled together
- Trimming: many fringes come long so they can be cut to suit you
A few facts make this easier to understand:
- Many clip-in fringes are sold slightly longer than needed so they can be trimmed
- Moving the base about 5 cm / 2 in back can make the fringe look longer and softer
- Placing it about 1–2 cm behind the front hairline often helps hide the seam
| Check | What can go wrong | What I’d do |
|---|---|---|
| Placement | Too bulky, too short, uneven | Move the clips back or re-centre them |
| Density | Base shows or fringe looks separate | Backcomb roots lightly or pick a lighter fringe style |
| Texture | Fringe looks like a separate piece | Style your hair and fringe together |
| Root direction | Split middle, lifting, puffing | Blow-dry side to side and change the base section |
| Length | Sits too long or too blunt | Trim only after clipping and styling |
Bottom line: the model photo is the finished result, not the first fit. Once I place it well, match the texture, and tidy the length, the fringe usually looks much closer to the photo.
How To Apply & Blend Clip In Fringe/Bangs - Cliphair Extensions
sbb-itb-08feb2f
Why your fringe looks different on the model
A fringe looks different on every person because styling, face shape, and lighting all change the way it sits.
Model photos show a styled result, not a first attempt
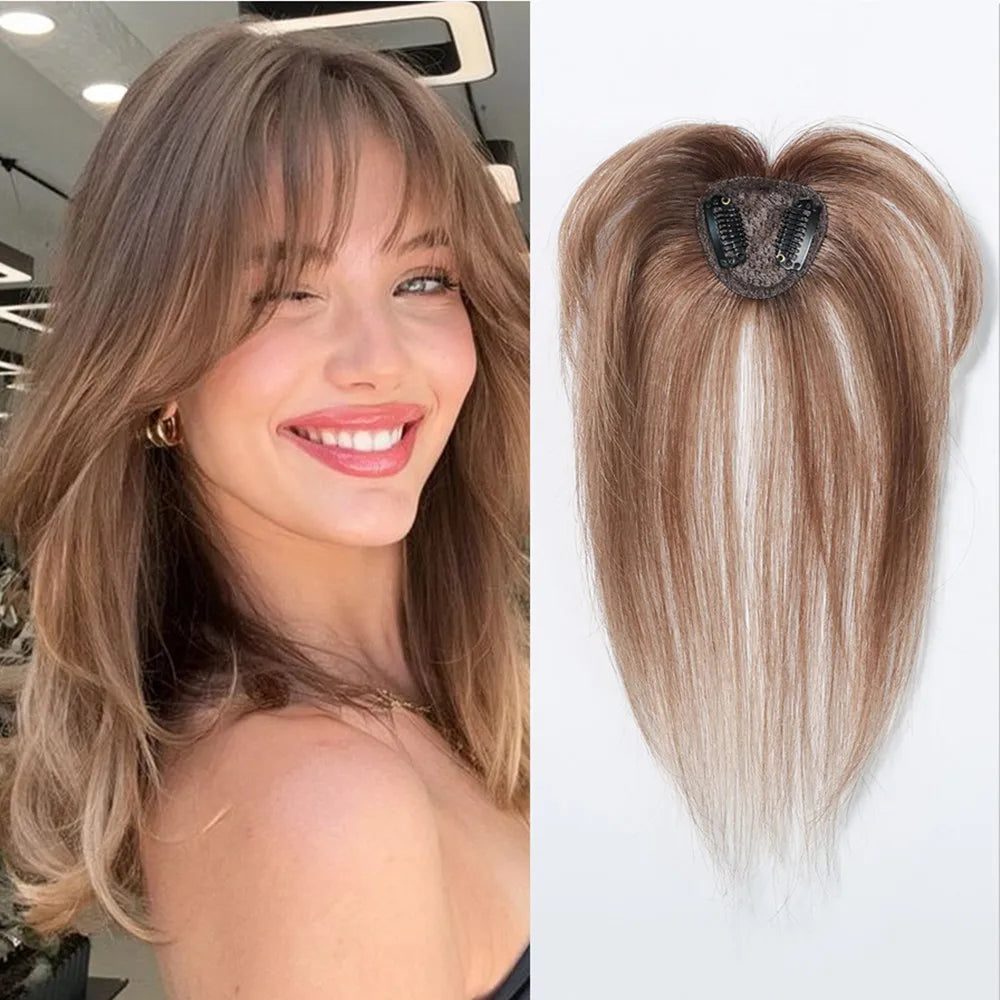
Product photos show a fringe after professional shaping, smoothing, and blending, not straight from the pack[2]. In plain terms, the image shows the finished look. Your first fit usually shows the starting point, before anything has been trimmed or worked into your hair.
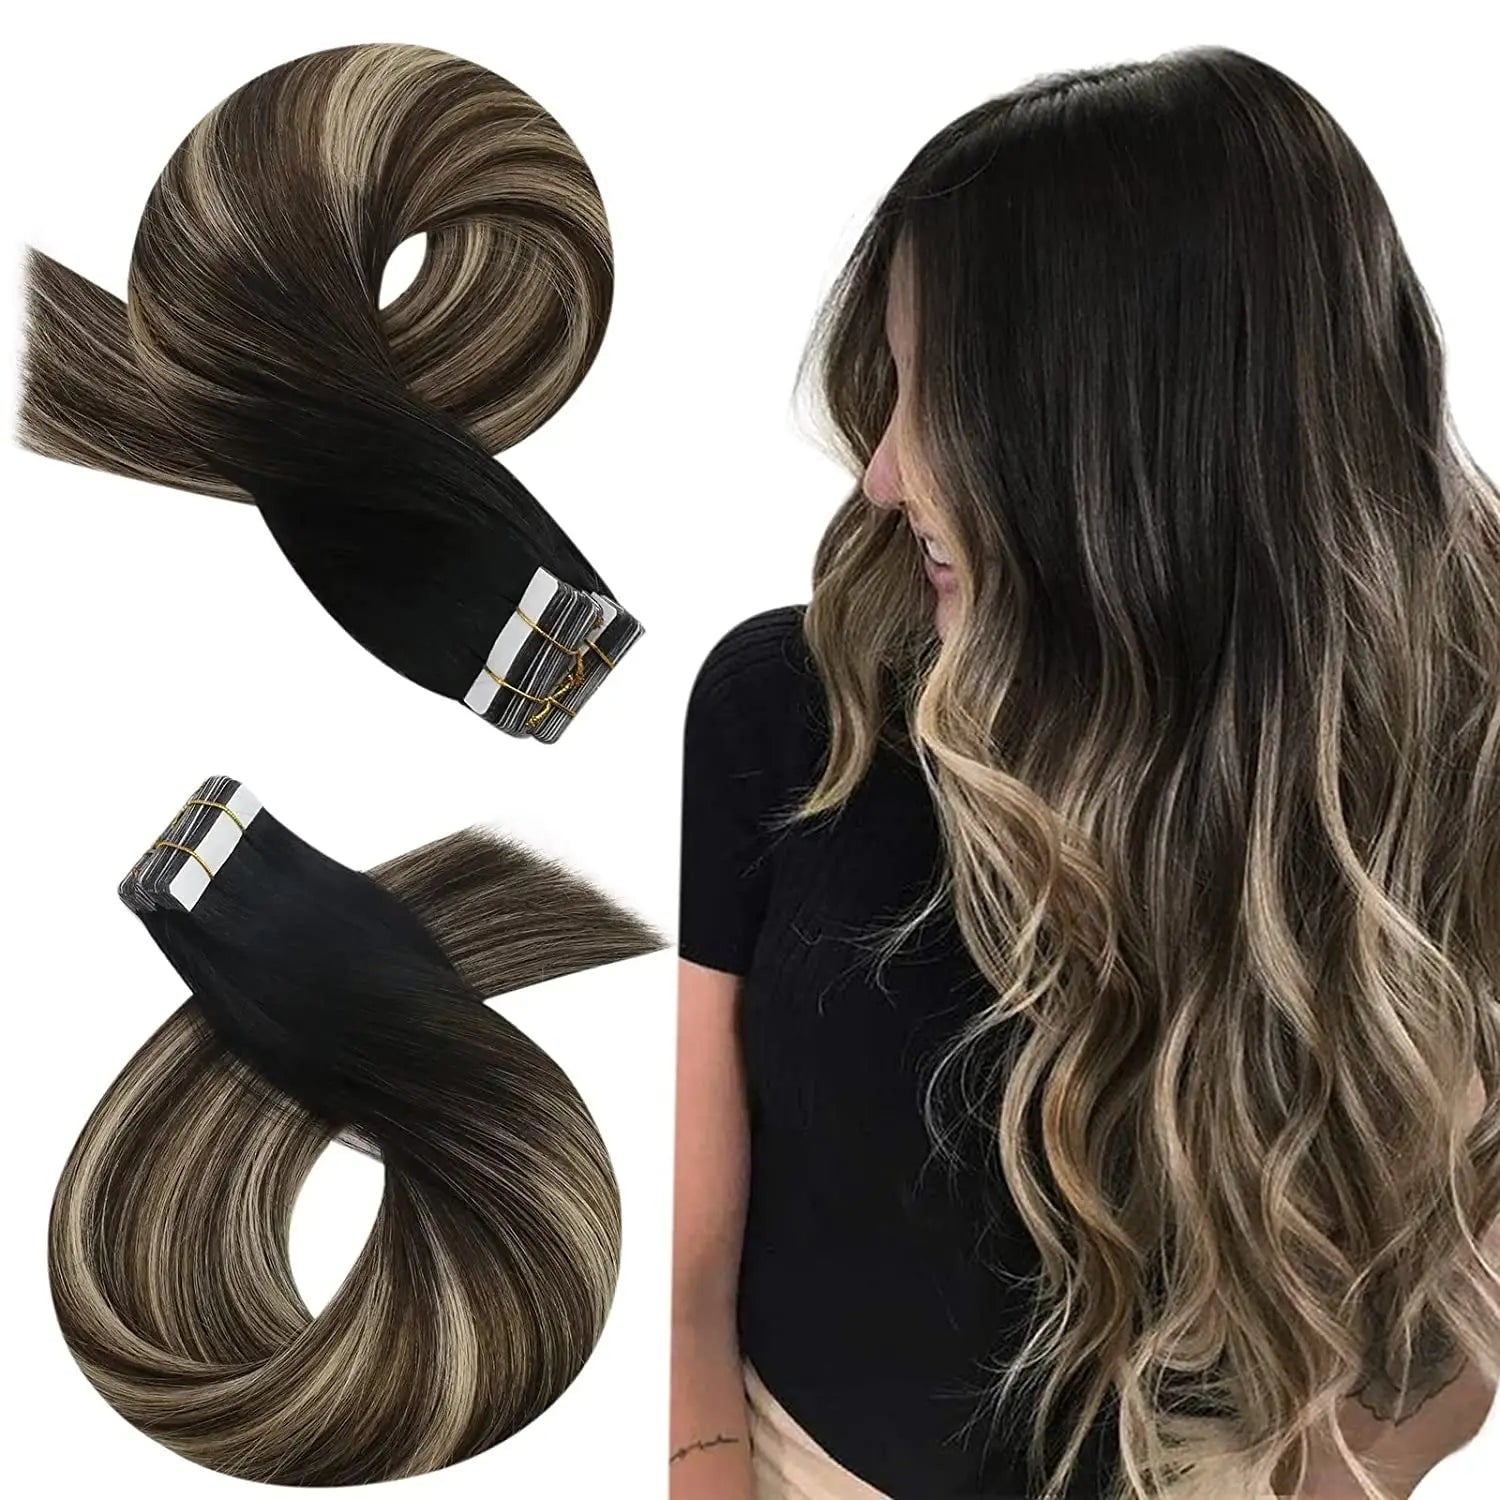
Most clip-in fringes are made a bit longer so they can be cut to suit the wearer[6][1]. That’s normal. Once the fringe has been styled, your own features and natural hair pattern play a big part in how it falls.
Face shape, texture, and hairline change how the fringe falls
Fringes can look very different depending on face shape. Blunt styles tend to suit longer faces, while side-swept or curtain styles can soften round and square faces[6][3]. Hairline and density also affect how full the fringe appears[4][3].
A straight fringe clipped over wavy or textured hair can look like an obvious add-on if the two aren’t styled to match[3]. It’s a bit like adding a puzzle piece from another box: even if it’s close, the mismatch stands out. A hairdresser can help match the fringe to your hairline and density. Even then, photos can make the result look softer or harsher than it does in person.
Lighting and camera angle affect how the fringe appears
Studio lighting and camera angles can make a fringe look shinier, fuller, or more even than it does at home[4][3]. That polished model shot isn’t just about the fringe itself. Light, angle, and camera setup all shape what you see.
From here, the next factor is where the fringe is placed on the head.
How face shape and fringe placement affect the result
Clip-In Fringe Placement Guide: Higher vs Lower vs Centred
Face shape matters, but placement is what changes how that shape looks. A small shift can make a fringe sit softer, fuller, longer, or more obvious. So if the first fit looks a bit off, placement is often the fastest thing to adjust.
The best spot depends on your face shape and how much coverage you want.
| Placement | Effect on Length | Effect on Fullness | Overall Result |
|---|---|---|---|
| Higher (towards the crown) | Appears longer | Lighter, softer finish | Blended and natural; suits shorter foreheads |
| Lower (near the hairline) | Appears shorter | Maximum density and coverage | Bold and full; can look bulky if not blended |
| Centred | Even and symmetrical | Balanced volume | Uniform; helps prevent crookedness or gaps |
Higher placement gives a lighter, longer look
Clipping the fringe about 5 cm (2 in) back from your hairline lets it sit longer on the face [8][3]. That often works well for shorter foreheads, where a heavy fringe can sit too close to the features and feel a bit crowded.
Lower placement creates more coverage and density
Placing the fringe closer to your natural hairline makes it look fuller [8]. On long or oblong faces, that extra coverage can help balance facial length [8][3]. But there’s a catch: if the piece sits too far forward, it can look bulky or start to separate from your own hair [8][1].
Centred placement helps keep it even
Setting the fringe in line with the centre of your forehead helps spread the weight evenly and keeps the piece looking symmetrical [2][6]. The base should sit about 1–2 cm behind your front hairline - not on it [6].
If the placement looks right but the fringe still stands out, the next things to check are density and root direction.
Hair density and blending problems
If the placement is right but the fringe still looks a bit off, hair density and root direction are often the issue. The aim is to match weight, not just shape.
Fine hair can make the fringe base more visible
Fine hair often doesn't have enough natural lift to hide the clips or the seam where the piece starts.
A simple fix is to build a bit of grip at the root before clipping the fringe in. Gently backcomb the roots at the attachment point, just enough to give the clips something to grab onto, then add a light spritz of texturising spray [3][5]. That small step helps hide the clip edges and gives the piece better hold.
If the fringe still feels too heavy against the rest of your hair, go for a wispy or airy style. It usually blends more smoothly with fine hair than a blunt, dense cut.
Thick hair can make the fringe look detached or too light
Thick hair brings the opposite problem. The fringe can end up looking too thin or disconnected next to the fullness of your natural hair.
The easiest fix is to curl or wave your front sections and the fringe together after clipping it in. When you style both as one piece, not two separate parts, the blend tends to look much closer to the finish you see in model photos [1].
Root direction and section size affect how the fringe sits
If your fringe puffs up, splits in the middle, or sits unevenly, root direction is usually behind it. A cowlick or strong growth pattern under the piece can push it out of place, even when you've positioned it with care.
If that keeps happening, the base underneath often needs adjusting. Section a triangular panel from your hairline back about 5 cm (2 in), then clip the fringe into the front of that section [3]. This gives the piece a flatter, more stable base. Then you can let your natural hair fall over the top to help cover the seam.
How to style your fringe to match the model
Once placement and density are sorted, styling is what helps the fringe melt into the rest of your hair.
Prep your hair before fitting the fringe
Style your own hair first. Set your part, smooth flyaways with a small amount of serum or gel, then blow-dry or straighten the front sections so the texture already matches. If you change your part after clipping the fringe in, it can throw the whole thing out of line. Clip the fringe in only once the front section is smooth.
Match the fringe texture to the rest of your hair
After prep, get the texture lined up before you tidy the ends. Match the fringe texture to your front sections, then style both together with the same tool so they blend like one piece.
Adjust the ends and side pieces after clipping in
If the fringe feels heavy or too blunt at the corners and ends, use a light touch of texturising paste or spray to add movement and soften the finish [3][1]. Then blow-dry the side pieces away from the face to soften the line and keep the fringe from sitting too stiffly.
Quick fixes to make your fringe look natural at home
If your fringe still looks a bit off after styling, a few small tweaks can help it sit better and hide the base. Start by moving the clips 1–2 cm behind your hairline. That lets your own hair fall forward, which helps cover the base and makes the fringe blend in better [9][1].
Still getting that annoying split down the middle? Blow-dry the fringe from side to side instead of letting it fall into place on its own. This helps stop uneven partings and keeps the hair from settling into its usual split [7].
If the base is still showing, lightly lift the roots and pull a few strands over the seam. Then use a small amount of texturising spray to fill any gaps and soften the finish [8][9].
Save trimming for last. If the fringe still feels too long once everything is clipped and styled, book a face-framing trim with the fringe in place [8][1].
FAQs
Can I wear a clip-in fringe with a cowlick?
Yes, you can. Start by lightly dampening the hair around your cowlick. Then blow-dry it in the direction you want with a round brush.
Once your hair is smooth, apply your clip-in fringe as usual. If you need a cleaner blend, run a straightener over your natural hair on a low heat setting so it sits neatly with the fringe and looks natural and polished.
Should I trim the fringe myself or see a hairdresser?
Because our clip-in bangs are made from high-quality 100% Remy human hair, you can trim them to suit your face shape and personal style.
If you only need a small tweak, you can do it yourself. But for the best result, it’s worth seeing a professional hairdresser. They can adjust the length and layering to match your features and hair density, so the bangs blend in more naturally with your own hair.
How do I make a clip-in fringe blend with curly hair?
Choose a 100% human hair fringe so you can style it with heat and match your own curl pattern. Start by sectioning a triangle at the front hairline, then clip the fringe just behind that section.
Once it’s in place, use a curling iron to softly wave the fringe so it blends with the rest of your hair. Finish with a small amount of texturising paste to soften the join and give everything an easy, natural look.