Yes, clip-in bangs can look natural in about 5 minutes - if I focus on three things: placement, blending, and light styling. Most problems happen because the fringe sits too close to the hairline, the clips show, or the texture and ends don’t match my own hair.
Here’s the short version:
- Prep my hair first so the clips sit flat
- Clip the fringe slightly behind the hairline
- Cover the base with a thin layer of my own hair
- Trim dry with small vertical snips if the ends look blunt
- Style and set lightly so the fringe moves like my hair
A few numbers matter too:
- Synthetic fibres: keep heat at 71°C to 85°C
- Human hair fringe: keep heat around 121°C to 177°C
- If clips show, shifting the piece back by 2–3 mm can help
I’d also keep products light. In humid weather, a small amount of anti-frizz serum on the mid-lengths and ends can help. On windy days, texturising spray gives hold without making the fringe look stiff. If the fringe looks shiny, a bit of dry shampoo near the roots can dull that plastic-looking finish.
If I still don’t like the result, the fix is often simple: move the fringe a few millimetres, soften the ends, or check the colour in natural light.
Below, I’d walk through the same 5-minute process in order, so each step is easy to follow.
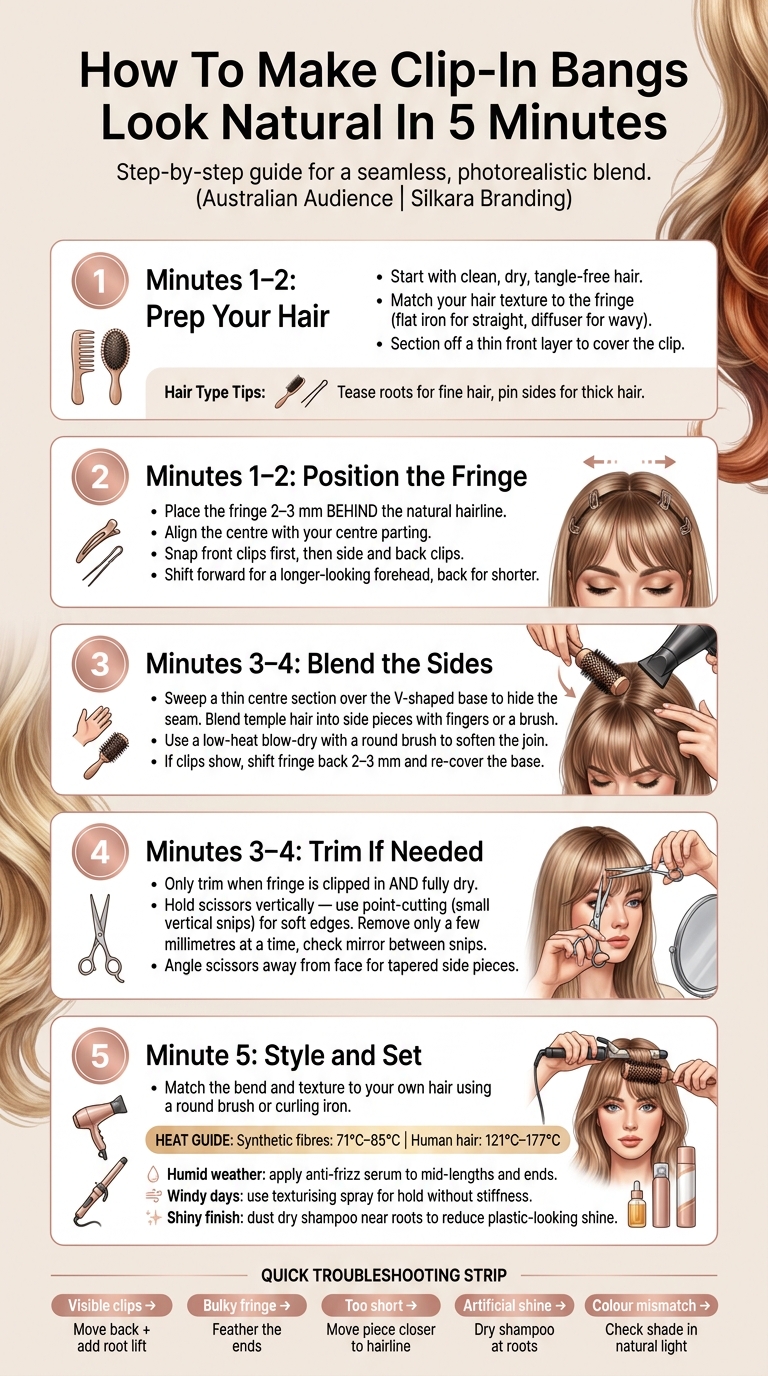
How To Make Clip-In Bangs Look Natural In 5 Minutes
Minutes 1 and 2: Prep your hair and position the fringe correctly
Prep the base so the clips sit flat
Start with clean, dry hair that's fully brushed through. If you've got tangles or product build-up near the hairline, the clips may not sit flat, and the join can show more than you'd like.
Before you clip anything in, get your own hair texture as close to the fringe as possible. If your hair is straight, smooth the front section with a flat iron. If it's wavy, use a curling wand or diffuser so everything blends better.
Next, section off a thin layer of hair at the front and clip it out of the way. After the fringe is in place, you'll brush this layer back over the base to help cover the seam.
A few prep tweaks can help, depending on your hair type:
- Fine or thinning hair: tease the roots and add dry shampoo
- Straight hair: flat iron the front
- Wavy or curly hair: use a diffuser or curling wand
- Thick hair: pin the side sections behind your ears
Once the base looks smooth, place the fringe slightly behind the hairline.
Place the bangs slightly behind the natural hairline
Now clip the fringe a few millimetres behind your natural hairline. That tiny gap gives your own hair room to fall forward over the base, which helps hide the join.
Open all the clips first. Line up the centre of the fringe with your centre parting, then press the clips flat against the scalp and snap them shut. Start with the front clips, then secure the side and back clips. After that, give your head a gentle shake to make sure everything feels secure.
You can also shift the placement by a few millimetres. Move it forward if you want the forehead to look longer, or slightly back if you want it to look shorter.
sbb-itb-08feb2f
Minutes 3 and 4: Blend the sides and trim only what is needed
Blend the top edge and side pieces into your own hair
Now that the fringe is in place, use your own hair to cover the base.
Sweep a thin centre section over the V-shaped base to hide the seam. Then blend your temple hair into the side pieces with your fingers or a small brush [6][3].
A quick low-heat blow-dry with a round brush helps soften the join and turns the ends slightly outward [3][6].
If the clips are still showing, shift the fringe back by 2–3 mm and cover the base again with the centre section [5].
Trim dry using point-cutting for a soft, feathered finish
Only trim when the fringe is clipped in and fully dry [1]. If you cut it wet, it can sit shorter than you want once it dries [1].
Hold the scissors vertically and make small snips into the ends. Point-cutting gives you a softer edge than a blunt cut [1]. Take off just a few millimetres at a time, then check the mirror before you go again [1].
For the side pieces, angle the scissors away from the face so the sides taper into your own hair [1].
Once the edges look soft, go straight to styling so the fringe settles into place.
Minute 5: Style and set the fringe for a natural finish
Match the bend and side pieces
Once the cut looks soft, the next job is to make the fringe move like your own hair.
Shape the fringe so the bend and texture match your hair. You can use a round brush to bevel the ends under, or reach for a straightener or curling iron if you want a softer bend. Then style your own hair the same way so the join fades out [1][3][5][6].
For the side pieces, guide them around the cheekbone area with your fingers, a comb, or a round brush. That helps them blend into your natural layers instead of sitting on top of them [5][2].
If you're working with human hair, keep the heat low. Lower settings help protect the fibres and the finish [6][1]. For heat-resistant synthetic fibres, stay between 71°C and 85°C. Go above 85°C and you can melt the fibres [2].
Set the fringe for Australian weather conditions
Keep the finish soft. That way, the fringe still moves well in humidity, wind, and dry heat.
In humid or coastal conditions, apply anti-frizz serum through the mid-lengths and ends [1][2]. On windy days, texturising spray or hairspray can add hold without making the hair stiff [8][3]. In dry inland areas, a leave-in conditioner on the ends helps stop brittleness and static [7][1].
Keep oils, waxes, and thick conditioners away from the clip base. They can make the clips slip and leave the hair looking greasy [5][1]. If the fringe looks too shiny, use mattifying powder or dry shampoo near the roots to help it blend in [5].
If the fringe still looks too thick or too short, fix the shape next instead of piling on more product.
Troubleshooting, choosing the right fringe and final takeaway
Fix bangs that look too thick, too short or too noticeable
If the fringe still looks off after styling, a few small tweaks can make a big difference.
When the fringe looks separate from your own hair, style both together with a round brush. That helps the bend and movement flow as one piece instead of looking like two layers sitting apart.
| Common Issue | Quick Fix |
|---|---|
| Visible clips | Move the clips back a little and cover the seam with root lift |
| Bulky or heavy fringe | Feather the ends to reduce bulk |
| Bangs look too short | Move the piece closer to the hairline |
| Artificial shine | Synthetic fibres catch light; soften the shine at the roots with a little dry shampoo |
| Colour mismatch in natural light | Check the shade in natural light |
Choose a Silkara Hair fringe that suits your face shape and colour

If the placement looks right but something still feels off, the shape or colour is usually the reason.
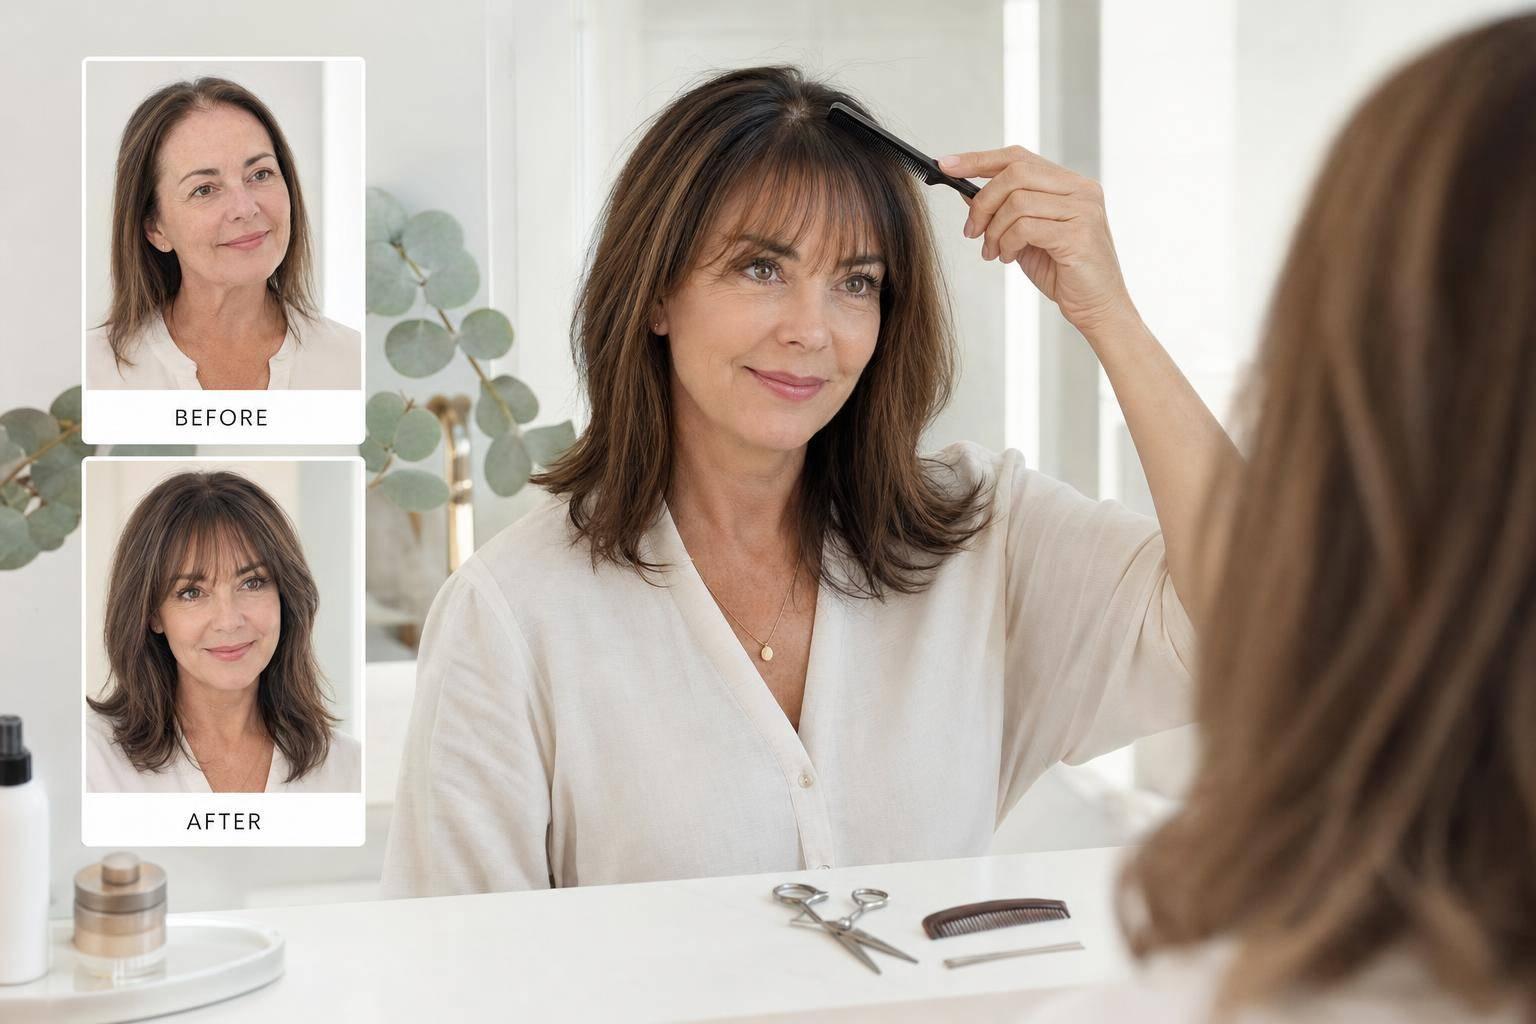
The cut does a lot of the blending for you. Round faces tend to suit wispy or curtain bangs, which can help add length. Square faces often look better with side-swept or layered styles that soften the jawline. Heart-shaped faces usually pair well with long wispy bangs. Longer faces can suit a full, curved fringe that adds width. Oval faces have the most flexibility, so almost any style can work.
Colour matters just as much. Match the fringe to your mid-lengths and ends, not your roots. Then check the blend in natural light before you head out.
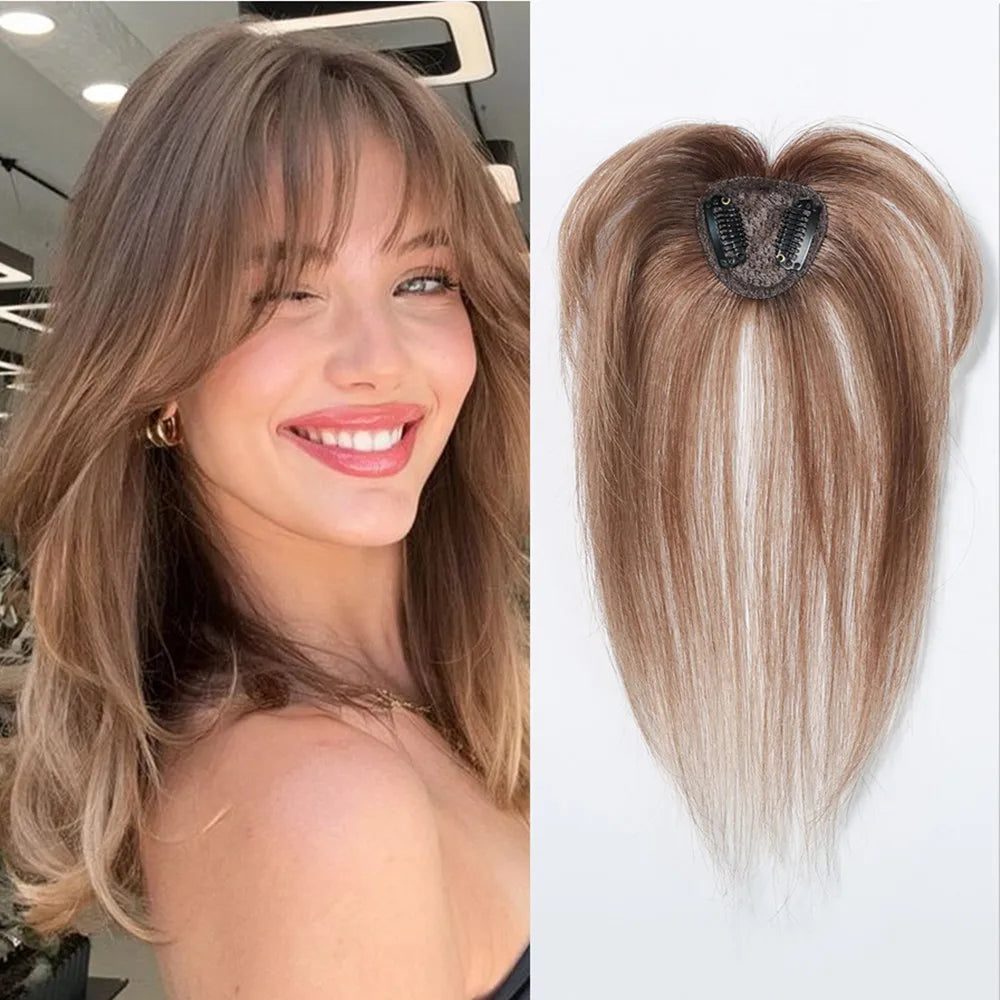
Silkara Hair offers a free Colour Match service. Send a photo, and their team will suggest the right shade for you [2][4]. If you want more volume or coverage at the crown, clip-in bangs can also be worn with a hair topper, halo hair extensions or clip-in extensions for a seamless, fuller finish [2][4].
Conclusion: The 5 steps that make clip-in bangs look real
When the fit, shape and finish are right, the fringe blends into your own hair instead of sitting on top of it. Get the placement, blending, trimming and light styling working together, and clip-in bangs can look natural in minutes.
How to Make Clip-In Bangs Look Chic | Harper's BAZAAR

FAQs
How do I choose the right fringe shape for my face?
Think about two things before you commit: your natural hair texture and the look you want.
In most cases, some fringe styles sit better with certain hair types:
- Straight hair often works well with blunt or curtain bangs
- Wavy hair tends to suit wispy or side-swept styles
- Curly hair often looks best with layered or micro bangs
For the most flattering fit, hold the fringe at a few different lengths against your forehead in natural light before securing it. That small step can save you a lot of guesswork. It helps you see which shape frames your face best and blends in with the rest of your hair.
Can I wear clip-in bangs with thin or curly hair?
Yes, absolutely. If you have thin hair, go for a lightweight set. That helps you avoid extra bulk and makes the bangs blend in more naturally.
For curly hair, style the bangs with the rest of your hair. Curl or wave them together so the textures match and the finish looks smooth.
How often should I trim clip-in bangs?
Clip-in bangs usually need one professional trim to suit your face shape and match your hair texture. That small bit of customisation helps them blend in better every time you put them on.
If they start to feel too heavy or lose their shape, you can lightly trim or thin the ends. But if you want them to look as natural as possible, it’s often best to have a professional stylist handle any changes.