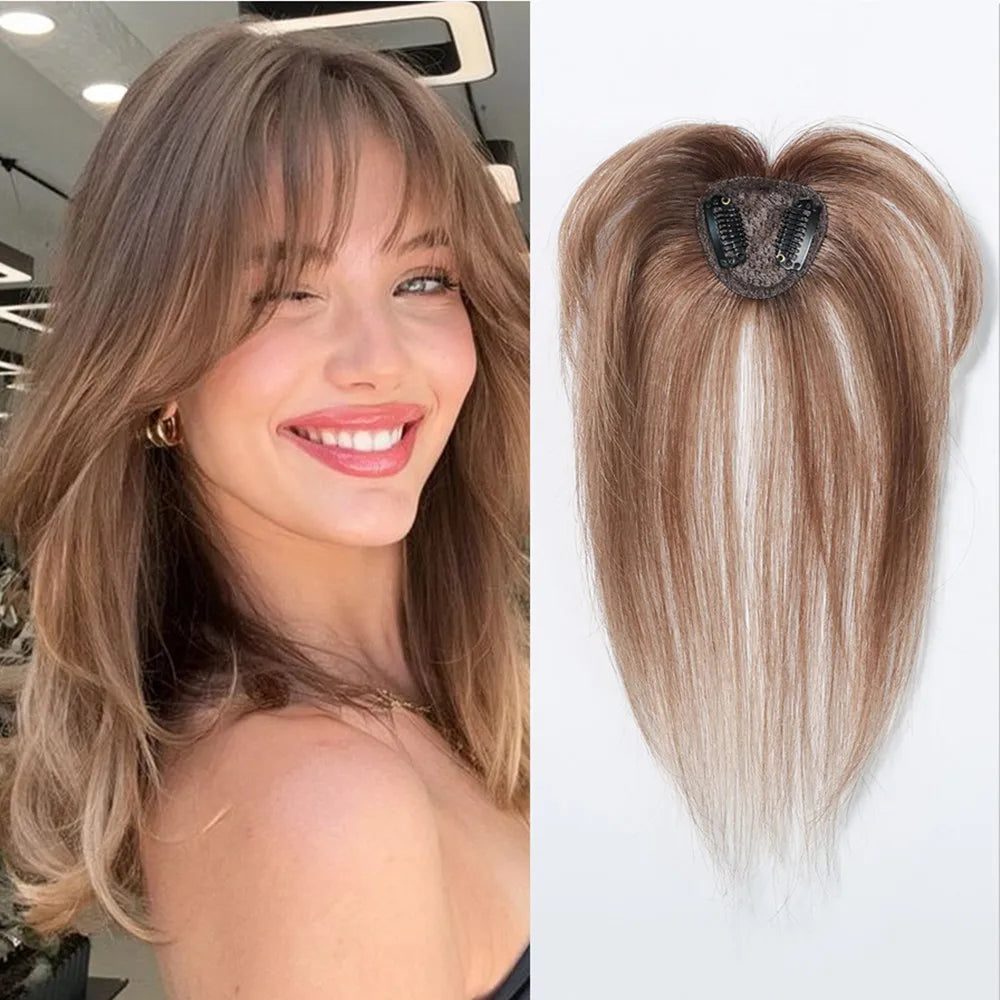

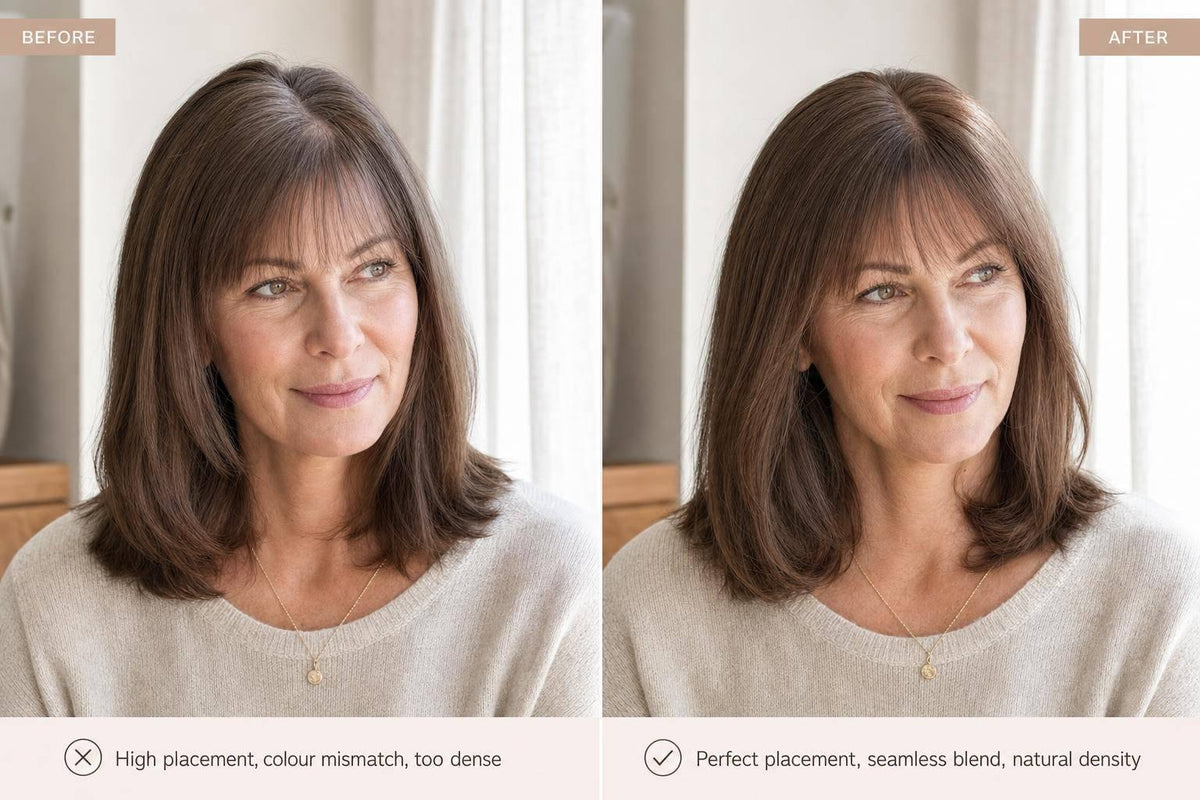
Most hair topper problems come down to five things: placement, colour match, blending, density, and base fit. If I get those right, the topper is far less likely to stand out. If I get even one wrong, the hairline, part, or crown can look off in daylight.
Here’s the short version:
- Place it about 1.3 cm behind the hairline so my own hair softens the front.
- Match colour in daylight, not indoor lighting, with close attention to undertones.
- Blend the cut and texture so there isn’t a hard line between my hair and the topper.
- Pick density that suits my own hair or the topper can look bulky.
- Choose the right base size and type so it sits flat and covers the thinning area.
A topper usually looks less natural when it is too thick, too flat in colour, poorly placed, or sitting above the scalp instead of against it. One simple check can help: before I head out, I look at the hairline, part, sides, and crown in daylight. That small step often catches the problem fast.
| Mistake | What usually gives it away | Simple fix |
|---|---|---|
| Wrong placement | Front edge shows or a gap appears | Set it around 1.3 cm behind the hairline |
| Poor colour match | Shade looks off outdoors | Check colour near a window or outside |
| Weak blending | Visible join between hair and topper | Trim and style both together |
| Too much density | Hair looks puffy or heavy | Go for light or medium density if my top is sparse |
| Wrong base | Lifting, clips showing, edges visible | Measure the thinning area and add 2.5 cm |
In short: a natural topper is less about the topper alone and more about how well it matches my hair, scalp area, and haircut. The rest of the article breaks down each mistake and how to avoid it.
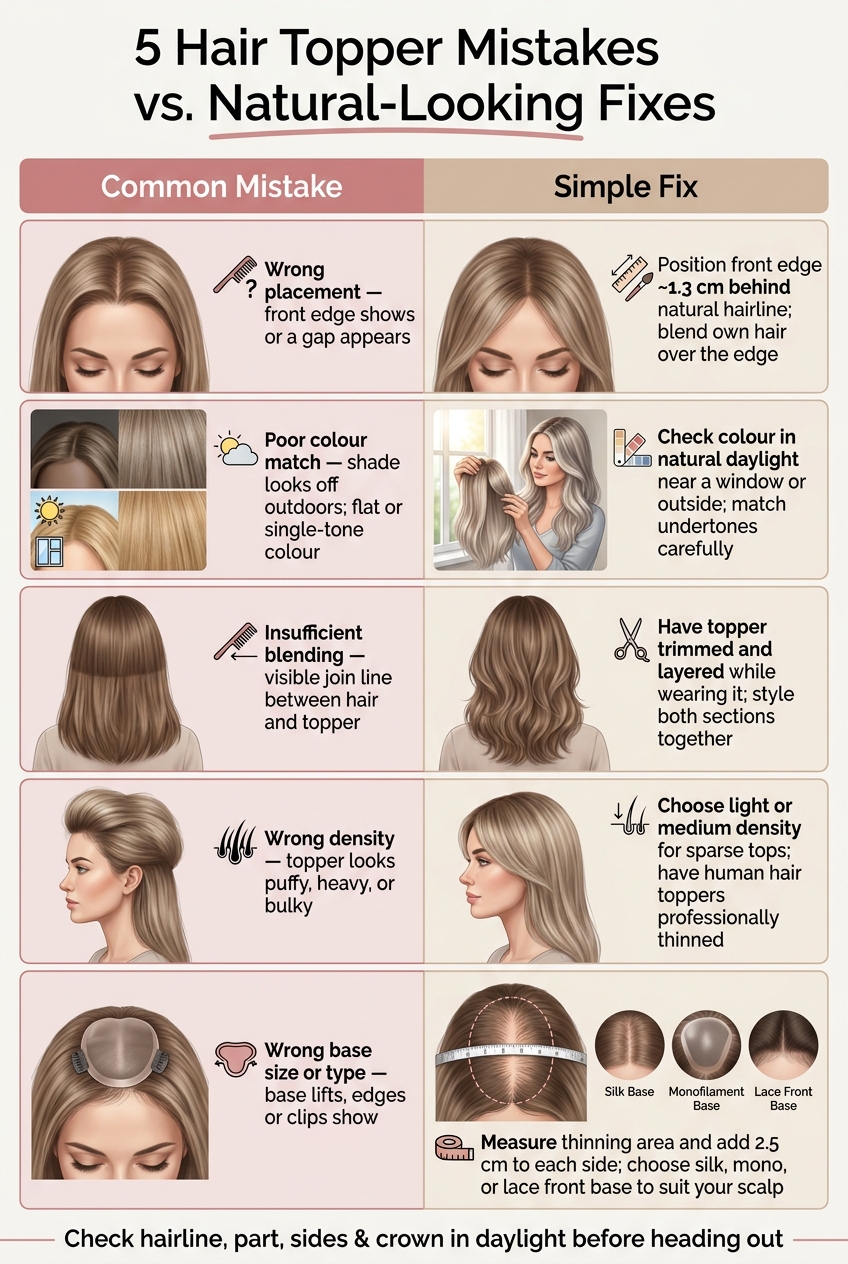
5 Hair Topper Mistakes vs. Natural-Looking Fixes
5 Top ❌ Hair Topper MISTAKES ❌ to Avoid (First Topper Buyer's Guide!)
sbb-itb-08feb2f
What Makes a Hair Topper Look Natural?
A natural-looking topper comes down to a few parts working together: placement, colour, blending, and density. If even one of those is off, the topper can stand out. That’s why each one can turn into a problem point, and why the rest of this article digs into them one by one.
Placement is often the first thing people notice when a topper looks obvious. It needs to sit flat against the scalp, with no lifting or gaps. The usual sweet spot is about 1.3 cm behind your hairline, so your own hair softens the front edge [2].
Colour is another common giveaway, especially in daylight. Hair that looks flat or all one tone can seem artificial, because natural hair usually has slight tonal shifts. A topper with that bit of dimension tends to blend better. One without it can look a bit too uniform.
Then there’s blending and base construction. The topper’s texture should match your own hair [7]. The base should lie flat, and the part should resemble the scalp, especially at close range. Density matters too. If there’s too much hair packed into the piece, it can create a bulky “helmet” effect [1].
With those basics in place, the first mistake to avoid is placement.
1. Incorrect Placement
Placement is the easiest topper mistake to spot. Get it wrong and the topper stands out straight away. If it sits too far forward, the front edge can show against your forehead. If it sits too far back, you end up with a clear gap between your own hair and the topper[2][8].
Once you’ve set the position, line up the part before you clip it in. Use a tail comb to match the topper’s part with your natural part[8]. Then lightly backcomb the clip areas so the topper sits flat and stays in place[2][8]. After that, check the front edge in daylight to make sure it stays hidden[8].
2. Poor Colour Matching
Choosing a topper from an indoor photo can be misleading. Artificial light changes the way colour looks, so a shade that seems right inside can look off in daylight. What you want is a match for how your hair looks outdoors, not under ceiling lights.
Undertones matter most. If your natural hair has warm golden tones and you pick a topper with cool ash tones, the difference will stand out the moment you step outside. The same goes for toppers with a flat, single-tone shade. Next to natural hair, which usually has small shifts in colour, they can look a bit fake.
Check your hair in natural daylight, ideally outdoors or near a window, before choosing a shade [4].
Silkara Hair also offers a free colour match service that checks undertones and highlights from photos.
If the shade looks close but the topper still seems separate, the problem is usually blending.
3. Insufficient Blending
Blending is what makes a topper look like part of your own hair. At this point, you want one smooth shape, not two separate sections.
If you put a blunt topper on layered hair, or a layered topper on blunt hair, you'll often end up with a visible line. That line is usually what gives the topper away.
The easiest fix is to have the topper trimmed and lightly layered while you're wearing it. That way, it can be shaped to match your haircut instead of fighting against it. Human hair toppers can also be cut, thinned and heat-styled to suit your hair. And yes, styling matters more than many people think. If your hair is smooth but the topper has bend or volume, they won't sit together well. Style both in the same way.
| Blending Challenge | Practical Fix |
|---|---|
| Blunt transition line | Ask for soft face-framing layers or light thinning |
| Texture mismatch | Curl or straighten your natural hair and topper in the same sections |
| Flat crown or part | Mist the roots and blow-dry upward for lift |
A fringe can make things much easier because it removes the need to hide the front hairline. If the topper still looks bulky after blending, the next thing to check is density.
4. Choosing the Wrong Density
If the blend looks right but the topper still seems bulky, density is usually the issue. This is one of the most common reasons a topper looks obvious. When the topper has much more hair than your own, the contrast can feel sudden. The result? Hair that looks heavy, puffy, or a bit out of place.
A good way to judge density is to check your crown and part line in natural light. Then compare that area with the sides and back of your hair. If you can see more scalp at the top, a light or medium-density topper will often blend better.
| Density Level | Best For |
|---|---|
| Light | Early-stage thinning, fine hair, widening part line |
| Medium | Moderate crown thinning, average hair thickness |
| Higher density | Significant thinning or very thick surrounding hair |
If a topper feels slightly too thick, a human hair topper can be thinned or layered by a professional to take out some of the bulk.
If the density seems right but the topper still sits oddly, the next thing to check is the base size and construction.
5. Using the Wrong Base Size or Construction
Even if the hair density is spot on, a topper can still look off when the base size is wrong. The base is what everything sits on, so if it doesn't line up with the area you're trying to cover, the whole piece can give itself away. A base that's too small can leave thinning spots exposed. One that's too large may shift around and show the edges or clips, which makes the topper stand out [3][6].
Start by measuring the thinning area from front to back and from side to side. Then add 2.5 cm (1 inch) to both measurements so the clips can grip onto denser hair [9].
Size is only part of it. The type of base matters just as much.
- A silk base hides knots well and gives the look of a natural scalp.
- A mono base is breathable, which can suit sensitive scalps.
- A lace front can work well if thinning starts near the hairline and you want to wear hair away from your face [9][5].
Here’s a quick guide:
| Thinning Pattern | Recommended Base Size |
|---|---|
| Part line thinning | 5x5 – 6x6 |
| Crown thinning | 6x7 – 7x7 |
| Diffuse thinning across the top | 7x8 – 8x9 |
| Advanced thinning | 8x9 – 10x10 |
A well-made base should lie flat against the scalp. If the base is stiff or the sizing is off, the edges can become visible and the topper may lift, which makes it look artificial [1].
"If the wrong base is chosen for your hair type or stage of hair loss, the base can appear thick or raised, causing the topper to lift away from the scalp. When this happens, the piece immediately appears artificial." - Karen Dowsey, Founder, Frankie Hair Toppers [1]
Next, use the quick reference to compare each mistake with the natural-looking result.
Mistake vs Natural-Looking Result: A Quick Reference
Here’s a quick recap of the main topper mistakes and the fix for each one. Use it as a fast scan before you head out.
| Mistake | What It Looks Like | Better Approach |
|---|---|---|
| Placed too far forward | Front edge shows at the hairline | Position the front edge about 1.3 cm behind your natural hairline and blend your own hair over the edge [2] |
| Misaligned part | Part lines do not align | Use a tail comb to nudge the topper's part until it lines up with your natural part [6] |
| Styling not integrated | Join line shows | Style both sections together [6] |
| Density too high | Volume looks too bulky | Match density to your natural hair, or have the piece lightly thinned [1] |
| Base too rigid or poorly fitted | Base lifts or looks raised | Choose a base construction that sits flush against the scalp [1] |
Before you buy or wear a topper, do a few quick checks. Look at the hairline, part, and sides—or consider a clip in hair topper with bangs to simplify the front edge—in good light before you go out. A mirror check takes less than a minute, and it can save you from that “something looks off” feeling later.
Checks to Do Before You Buy or Wear a Topper
Use this quick check to spot problems before they show up in daylight.
Before you buy, look at the topper outdoors and compare it with your mid-lengths and ends. It’s much easier to notice undertone and texture mismatches in daylight than under indoor lights [1][4].
If you’re not sure about the base size, measure the thinning area first. Then add 2.5 cm on each side so the clips can grip stronger hair.
Once the size looks right, check the placement. Set the topper about 1.25 cm behind your natural hairline, then make sure the front edge stays hidden instead of lifting at the front [2].
Last, do a simple shake test. Move your head from side to side and lean forward. If the piece shifts, mist the roots with dry shampoo or texturising spray, then clip it in again. After that, use a hand mirror with a wall mirror to check the back and crown for puffiness or gaps [2].
Conclusion
Most topper mistakes come back to the same basics: placement, colour, blending, density, and base fit.
The good news is that many of these issues can be fixed with small tweaks, not a full do-over. Human hair toppers can be cut, coloured, and heat-styled to match your own hair, which gives you plenty of room to fine-tune the look.
A slight shift in placement, a better blend through the lengths, or a base that sits more cleanly can change everything. When placement, colour, blending, density, and fit all work together, the topper disappears into your own hair.
FAQs
How do I know if my topper is too dense?
Your topper may be too dense if it looks much thicker than your natural hair. That can create a clear contrast or a sudden shift that stands out.
It can also look unnatural if the front edge sits too heavily or feels bulky. A well-fitted topper should match your natural hair density so it blends in and looks natural.
What if my topper lifts at the front?
If your hair topper lifts at the front, the base often isn’t sitting flat against your scalp.
Place the front edge around 1 to 5 cm behind your natural hairline. That gives your own hair room to fall over the edge and help hide the seam.
If it still lifts, check two things:
- The base type matches your stage of hair loss
- The clips are attached in areas with enough hair density
Can a topper be cut to match my haircut?
Yes, a human hair topper can be professionally cut and layered to match your haircut. Because it’s made from human hair, a stylist can shape it much like your own hair, which helps it blend in more naturally.
A professional stylist can trim, layer, or thin the topper so it sits better with your current style and is less noticeable.